Ever wondered why your engine sometimes feels too hot, even when it's a cool day? Old coolant can create rust and leaks that cost you money, and nobody wants that hassle.
Changing the coolant by yourself is easier than you think. It saves money and keeps your engine happy, much like giving your car a refreshing drink on a hot day. In this guide, we'll show you simple steps to swap out your old coolant, keep your engine protected, and enjoy a smoother ride.
A few smart moves can really make a big difference, so let’s dive in and get your engine running cool again.
Essential Steps for Changing Coolant in Car
Regular coolant changes keep your engine happy and healthy. Coolant is a special fluid that helps move heat away from the engine and keeps its parts moving smoothly. Without fresh coolant, rust, sediment, and corrosion can build up and cause leaks or overheating. Most cars need a cooling system flush about every 50,000 miles, although some newer models might require a change every 10,000 miles. Doing this work yourself can save you around $70 on the first change and about $120 for later services.
Below is a simple step-by-step guide to help you change your coolant:
- First, take a look at your coolant. If it looks cloudy, has sediment, or seems murky, that might be a sign of trouble.
- Next, let your engine cool completely. This is super important so you avoid any burns when you open the radiator cap.
- Then, raise your car using jack stands or ramps for safe and clear access to the radiator and engine block.
- Find the radiator petcock. It could be a screw-thread type or one that twists and pulls. Open it to let the old coolant drain into a pan.
- After that, remove the lower radiator hose using pliers or a small screwdriver. This ensures all the old fluid escapes.
- Look for the drain plugs on the engine block and take them out following your car’s manual.
- Flush the system with distilled water until the water running out is clear, free of debris or discoloration.
- Finally, put the petcock back (new or original) so you can get a leak-free connection.
Once you’ve refilled and bled the system, start your engine and double-check for any leaks. Keep an eye on the temperature gauge and make sure everything stays at the right operating temperature. Happy driving!
Gathering Tools and Materials for Changing Coolant in Car
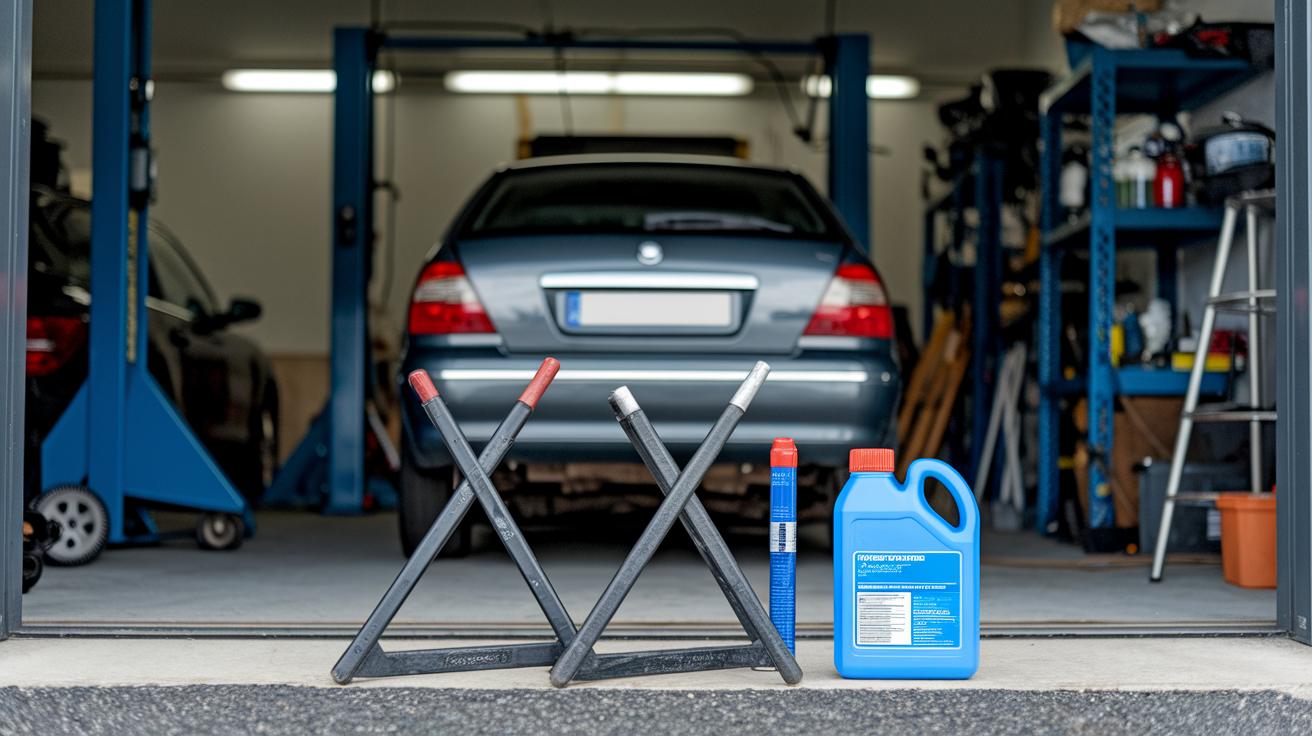
Before you start changing your coolant, it's best to have everything ready. Having the right tools makes the job smoother and keeps you safe. Most of these items cost less than $50, so this DIY antifreeze replacement is budget friendly. When you’re prepared, you can focus on the task without any interruptions, ensuring your engine stays in great shape.
Here’s a list of what you’ll need along with a few notes for each:
- Jack stands or ramps – You need these to lift your car safely so you can easily reach the radiator and engine block.
- Pliers or flat-head screwdriver – These help remove hose clamps and disconnect fittings without much fuss.
- Drain pan – This catches the old coolant and stops messy spills while you work.
- Funnel – It makes pouring new coolant neat and simple.
- Gloves – They protect your hands from chemicals and hot parts.
- Safety goggles – Use these to avoid any accidental splashes.
- Manufacturer-specified antifreeze – Use the right antifreeze that’s made specifically for your car.
- Distilled water – This is used to dilute the antifreeze as needed for your vehicle.
- Replacement drain petcock (optional) – If your current one is worn, a new petcock keeps the connection secure and leak-free.
Safety Precautions Before Changing Coolant in Car
Before you start a coolant change, let the engine cool off completely. Opening the radiator cap while it's hot can lead to painful burns from high heat and pressure. Always put on protective gloves and goggles to shield yourself from splashes and harmful chemicals. Make sure the car is securely supported with jack stands on flat ground before you begin any work. And keep pets and kids far away since coolant is toxic if swallowed.
Gather the drained coolant in a sealable container so you can dispose of it properly. Don’t mix different types of coolant, as unwanted reactions might damage your engine. Take your time with every step, safety matters more than speed when handling engine fluids. Stick to these precautions to protect yourself while keeping your coolant system in top shape.
Environmental Disposal and Recycling
Always check your local rules for disposing or recycling old coolant. Local waste centers usually provide clear guidelines that help keep your community and the environment safe.
Draining and Flushing the Car Cooling System
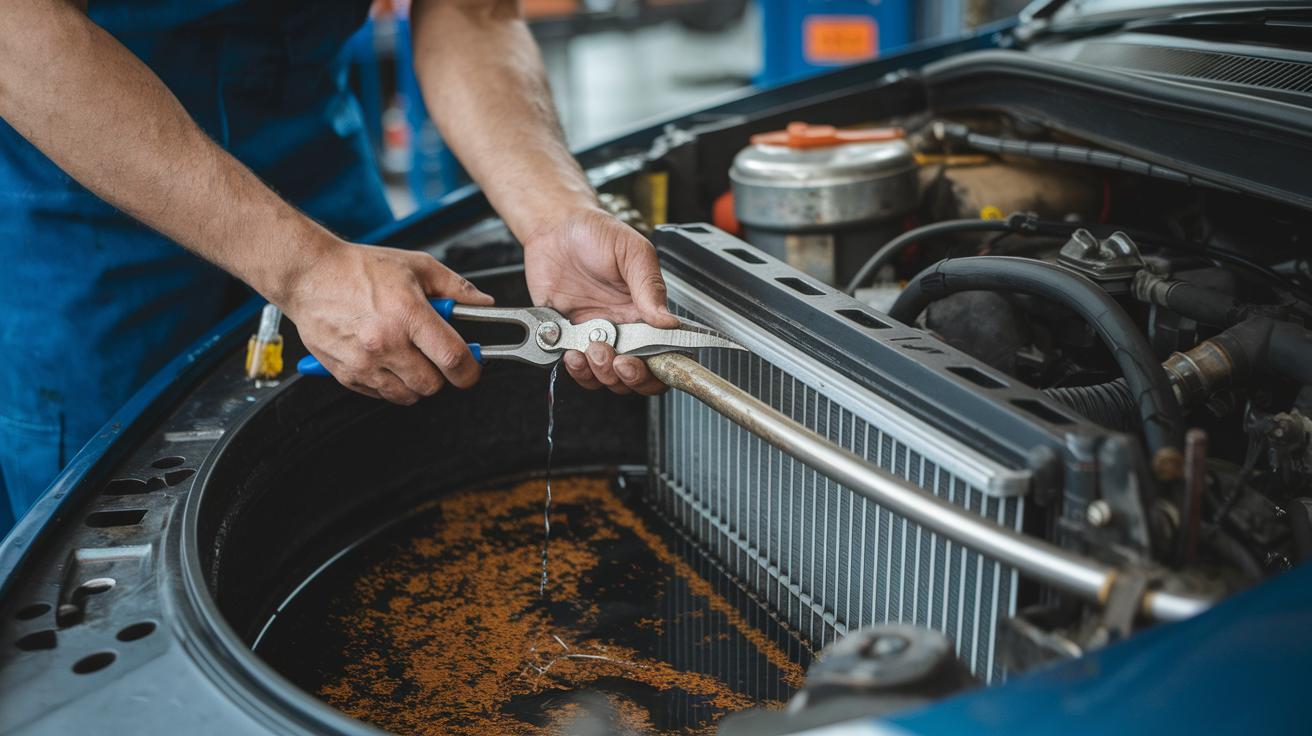
Begin by finding your radiator petcock. It might turn with a quarter twist, screw-thread, or need a quick pull and twist. Open it up and let the old coolant drain into a pan. As it flows out, take a good look, if you notice rusty specks, that could mean there's corrosion starting to build up.
Next, use a pair of pliers to carefully detach the lower radiator hose. This step helps get out any extra fluid left behind that didn’t drain through the petcock. Removing all of it keeps old and new coolant from mixing in ways that might wear out your system.
Then, refer to your repair manual and remove the engine block drain plugs. These plugs let out any coolant trapped inside the engine block, a common spot for deposits that can lead to corrosion. Checking the drained fluid here can give you extra clues about your engine’s overall condition.
Finally, flush the whole system with distilled water. Keep doing it until the water runs clear. This thorough rinse wipes away lingering contaminants and helps every component in your cooling system stay in top shape.
Refilling and Bleeding the Cooling System After Coolant Change
Start by mixing your coolant just like your manual says. Most car manuals call for a 50:50 mix of antifreeze and distilled water. Measure out your car's full coolant capacity and blend the fluids well. Then, use a funnel to slowly pour the mixture into the radiator or reservoir so you avoid any messy splashing.
Next, work on getting rid of any trapped air. Check for bleed valves on your radiator or gently loosen a top hose fitting to let the air escape. You might see bubbles pop up while you do this, which means the air is leaving. This step is really important because those air pockets might mess with the coolant's flow and cause cold spots or even overheating.
Now, start your engine and turn the heater on high until you notice the thermostat opens. This warms things up and gives any leftover air a chance to escape. Keep an eye on the fluid level and add more if needed. Once you no longer spot any bubbles and the fluid level stays steady, put the radiator cap back on firmly.
Lastly, watch your engine temperature gauge closely and check for any leaks around the radiator or hoses during your first drive.
Choosing the Right Coolant Type for Your Car
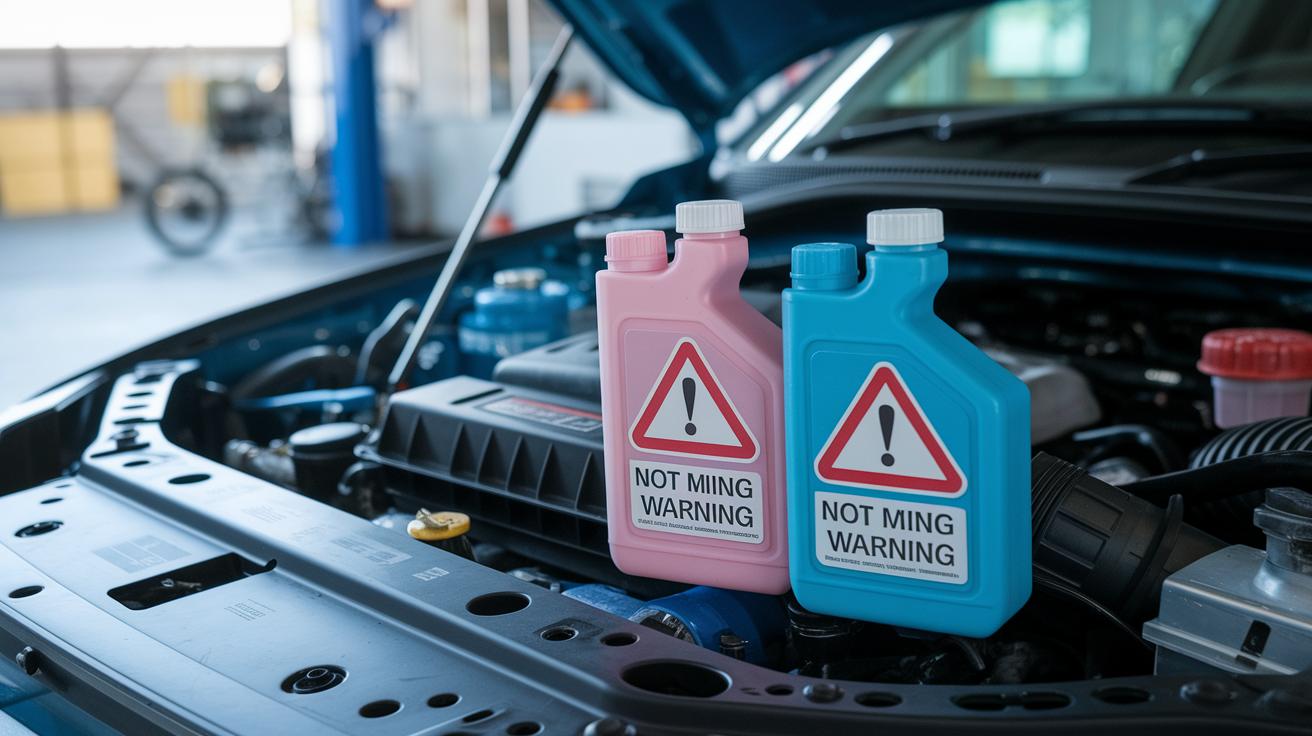
Your car’s guide from the factory tells you exactly which coolant to use. It helps protect the engine from rust, wear, and freezing. So, check your owner’s manual first and use the coolant that matches the factory mix, right down to the additives and color. Using a different type might wear out your engine early or even void your warranty.
Mixing different coolants is a bad idea. For example, don’t mix OAT, which stands for Organic Acid Technology (using organic compounds for protection), with IAT or HOAT coolants. Each type is made with a special blend of additives for your engine. Mixing them can weaken the protection they offer and lead to expensive repairs.
A lot of modern “universal” coolants might not suit your car. Following the manufacturer’s advice is the best way to keep your engine at the right temperature. Think of your coolant like a custom-made recipe for your car’s cooling system, it’s there to keep your engine safe and running smoothly, even when conditions get extreme.
Always refer back to your vehicle’s handbook before picking a coolant. It’s the most reliable source to make sure you’re using the right formula for your engine’s needs.
Maintenance Intervals, Costs, and Troubleshooting for Car Coolant Change
Below is a handy table that shows different mileage checkpoints with their expected DIY costs. It works as a quick guide while you follow the detailed instructions in the rest of this guide.
| Mileage Interval | Expected DIY Cost |
|---|---|
| 10,000 miles | $70 |
| 50,000 miles | $120 |
If you notice your coolant turning cloudy, it might be a sign of internal corrosion, kind of like how milk sours when it’s gone bad. Keep an eye on your engine’s temperature gauge and check the hoses, radiator cap, and seals for any leaks. If you see a drip, especially from the radiator cap, be sure to fix it right away to stop your engine from overheating.
Also, if you spot tiny particles or debris in the coolant, that could mean sediment is building up and messing with your car’s cooling system. A sudden jump in the temperature gauge is another clue that coolant circulation might be off. These extra tips can help you fine-tune your troubleshooting routine and avoid checking the same things over and over.
Final Words
In the action, we walked through every step for changing coolant in car, from gathering the right tools and materials to carefully draining, flushing, and refilling the system. We also touched on safety gear and choosing the right coolant type.
This guide gives you a simple, clear roadmap that makes changing coolant in car feel within reach and downright satisfying. Follow these steps, and you'll enjoy smoother rides free of overheating worries. Keep your engine happy and your adventures bright.
FAQ
What does changing coolant in car Reddit advice say?
Changing coolant advice on Reddit emphasizes following clear, step-by-step guides, using proper safety gear, and taking care to dispose of old coolant correctly when doing the work yourself.
What is the typical cost of a coolant change, including shop and DIY estimates?
Typical costs vary—DIY changes can save about $70 on the first service and around $120 on later ones, while professional shops may charge more depending on location and service features.
Where can I find a coolant change near me?
Local service centers and auto repair shops often offer coolant changes. A quick online search or a call to nearby garages can help you find a convenient location for the service.
What signs indicate I need a coolant flush?
Signs such as cloudy or rusty coolant, engine overheating, and visible leaks signal that your cooling system may benefit from a coolant flush to prevent further damage.
How often should I change my car coolant?
Most experts recommend changing your car coolant every 50,000 miles, though some newer models may require it as soon as 10,000 miles. Always check your owner’s manual for guidance.
Do I need to remove old coolant before adding new coolant?
Removing old coolant is essential before adding new fluid. Draining the system prevents mixing fluids, which can reduce engine protection and lead to potential corrosion.
Is it really necessary to change the coolant in a car?
Changing coolant is crucial for keeping your engine at the proper temperature, reducing corrosion, and avoiding leaks that might result in expensive repairs down the line.
What is a coolant drain plug and what does it do?
A coolant drain plug is a valve or bolt used to safely release old fluid from your radiator, helping to ensure the system is empty before a new coolant flush and refill.
What is a coolant flush kit and how is it used?
A coolant flush kit provides the tools and instructions needed to drain, flush, and refill your cooling system, making it easier for DIY enthusiasts to perform the job correctly.